

A Guide To Your DIY Bathroom Remodel
8-Minute ReadUPDATED: July 25, 2022
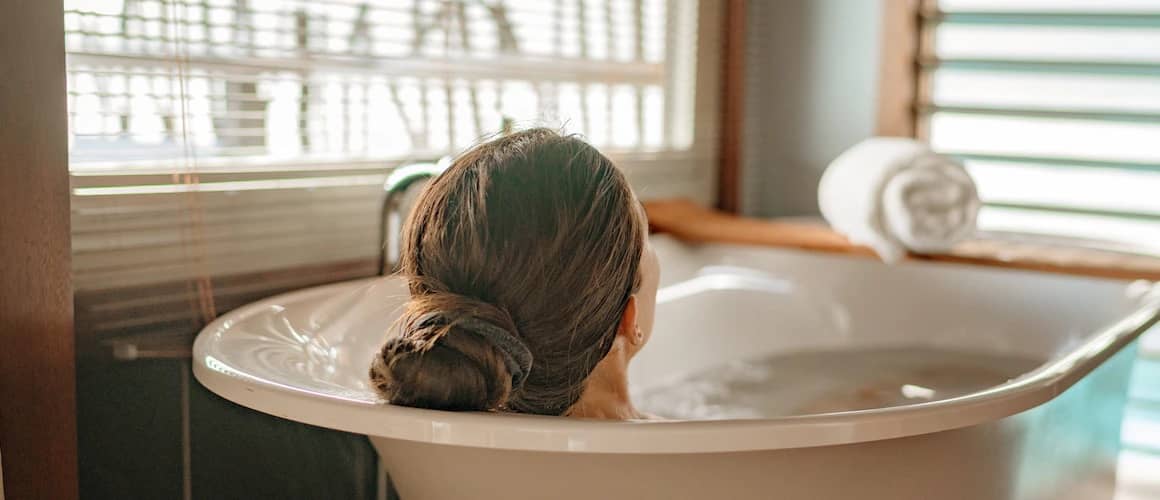
If you’re looking to really spruce up your home (and have the time!), you might consider the impact a bathroom makeover could have. Bathroom renovations are a great way to completely change the look of your home, whether you’re craving something new or are preparing to put your house on the market.
For some homeowners, taking a do-it-yourself (DIY) approach can be a great way to oversee and personalize every step of the project. And when it comes to bathroom renovations, DIY-ing can also be the key to staying within a budget.
Why Consider A DIY Bathroom Remodel?
According to a recent study by Trulia, 90% of homeowners are planning some type of home renovation in the near future. Of those, however, only about half of them are willing to spend more than $5,000 on the project.
Though a bathroom makeover is more affordable than, say, a kitchen remodel, bathroom makeovers can still cost a pretty penny. The average DIY bathroom remodel costs a whopping $10,457, half due to labor costs alone. This makes it easy to understand why so many homeowners would want to take a DIY approach – they could potentially save thousands!
First Step: Do-It-Yourself Bathroom Remodel Checklist
Before you even begin demolishing that old tub, though, you’ll want to do a bit of prep work. That way, you’ll feel prepared for any unexpected issues that may arise.
Here’s a pre-remodel checklist to consider as you prepare for your DIY bathroom project.
Create A Budget
Before embarking on any project, it’s key to know how much you want to – and can – spend along the way. This is especially important if you are taking the DIY approach because of affordability and budget concerns.
You should price out materials for each step of the process, allowing for things like shipping or delivery fees and even excess for loss. For example, if you’re tiling your own bathroom floor, you may want to buy extra tile for when some get cracked or cut incorrectly in the process.
Once you have your magic number in mind, add even a bit more as a buffer. After all, home improvement projects are renowned for coming in over budget in the end, and you never know what you’ll discover once you begin pulling up outdated fixtures and flooring.
Design A Plan
Before you start your remodel, you don’t need to know exactly which paint shade you want or if you’d prefer nickel fixtures to brushed stainless. But there are a few things you do need to know so you can properly plan your project out.
For example, you need to have detailed measurements of the space and understand where your electrical and plumbing lines run. You should also know which fixtures you’re putting in, decide what you’ll be installing (versus what’s staying) and have an idea of your color palette. It’s important to ensure that your budget and plan align before moving forward with the bathroom remodel process.
Hire Contractors For Tasks You Can’t Do Yourself
If this is your first DIY bathroom project, you might not be able to handle everything on your own, like rewiring electrical fixtures and messing with plumbing lines. For those tasks, you’ll probably want to hire a professional.
Ask around for recommendations and read lots of reviews before picking the right person for the job. Get quotes in writing before starting the work, and be sure to pick someone bonded and insured.
Be sure to leave room in your budget for anything you need to contract out, especially if you’re taking out a home equity or personal loan beforehand to cover the project.
How To DIY A Bathroom Remodel
Now that you’ve done the pre-project work, it’s time to begin your DIY bathroom remodel. Here are the basics.
1. Gather Your Supplies
The things you’ll need for your bathroom remodel depend on exactly what you plan to do with the space. Typically, though, you’ll need a combination of the following tools:
- Safety goggles
- Gloves
- Dust masks
- Claw hammer/sledgehammer
- Saws
- Power drill
- Caulk gun
- Utility knife
- Tape measure
- Buckets
You may need additional supplies – such as a power saw, shop vac or tiling knee pads – but these will vary according to your project.
2. Clear Everything Out
The first step in renovating any room – but especially a bathroom – is to remove everything that’s being replaced. The “demolishing stage” is usually a mixture of messy, easy and fun, and many homeowners feel comfortable handling this on their own.
Start by turning off the water to anything you’re taking away (your toilet, sink and tub). Drain your toilet’s tank before removing, and be sure to cover up and seal the drain hole during remodel. If removing your tub, you’ll want to start by taking down any tile work around it and removing fixtures.
Carefully pull up baseboards (if you plan to reinstall them) and use tools like a hammer and saw to remove drywall and insulation wherever it will be replaced. Remove your vanity and sink area – as well as any cabinets, shelves or mirrors – and then begin your floor demo.
3. Renovate The Shower
After you’ve cleared out the space and removed everything being replaced, you can begin the renovation work. If you’ll be replacing your shower and/or tub insert, this is the place to start.
Typically, you’ll install your shower and/or tub in the same area where your original tub was located, simply because of plumbing lines. Be sure to take these into account when deciding on an updated style for your new shower and tub, and measure the space accurately (especially if buying an insert!). Once that’s all complete, you can simply install your faucet and showerhead and turn the water back on.
4. Install The Cabinets And Vanity
The next step is to install your cabinets and vanity. When planning these out, be sure to take into account not only the measurements of the space, but also their location in regards to the door, windows and even existing electrical outlets.
You may decide to really change things up with your new countertops and vanity. If that’s the case, it could be a good idea to call in an electrician for this step. They can rewire your electrical outlets and bathroom ground-fault circuit interrupter (GFCI) to wherever is most convenient –and aesthetically pleasing –to you.
5. Swap Out The Toilet
There are many great reasons to consider swapping out the toilet as part of your bathroom remodel.
For being a key feature of your bathroom, the toilet is usually a pretty cost-effective thing to change. This allows you to really change the look of the space without spending so much. Plus, a water-efficient toilet can help save you money on your water bill each month.
No matter how careful you were when removing your old toilet, you’ll need to replace the wax ring seal when installing your new toilet. Also, be sure to properly caulk around the bottom of your toilet to prevent sewer gas leaks.
6. Hang New Walls
Odds are that part of your bathroom renovation will involve your walls. Depending on your project, you may be able to get away with walls that can stay up but just need some patching and repainting.
If you need to hang new walls, though, the process isn’t too difficult. Cutting the drywall boards to fit each section is probably the trickiest part, and “floating and taping” the seams can take a few tries to get right.
Also, be sure to note that the walls around your tub and shower will be different from the walls everywhere else in your bathroom – you’ll need to use rigid air barrier materials, like cement board, in addition to a waterproofing layer. This will prevent your walls from getting moist and moldy from the humidity.
7. Replace The Bathroom Tile
Tiling is messy but gratifying work, especially if you’re someone who enjoys clean lines. There are a few tips to keep you on-track when installing your new floor, though.
First, you may want to mark lines on the subfloor or backer board before you get started. This will help ensure that your tiles stay straight as you work, and save you from frustration (and irritating lines) later. This is also wise for tiling a shower area, which often uses smaller tiles that can easily get crooked.
You can buy premixed grout that is ready to use right out of the container. This is a more expensive option, especially if you’retiling a large area, but takes the worry out of mixing grout to the right consistency. As you work in smaller spaces, you'll also want to spread grout and lay tile.
The trickiest part of laying tile is probably cutting tiles to fit around corners and fixtures. There are great tools you can use for this step, though – many of which can even be rented from home improvement stores. Once your floors are done, you can then reinstall those baseboards that you set aside during the demo.
8. Put On Finishing Touches
Now, it’s time to polish up your new space! This includes installing all the hardware in your new bathroom and painting the walls.
Depending on the size of your bathroom, you may choose to use a paint sprayer instead of rollers. No matter which route you take, though, be sure to tape off areas that won’t be painted and use drop cloths (especially if you just redid your floors). Once the walls are done, you can install towel bars, toilet paper holders and the like. Hang your mirrors and reinstall outlet covers at this time, too.
Ta-da! All that’s left now is a good cleaning. You’ve probably been using a shop vac to clean up dust along the way, but be sure to give everything a nice wipe-down now. Test your faucets and electrical sockets, check for areas that need a paint touch-up, and double-check your caulk seals to ensure there won’t be any leaks.
Top Payment Options For A DIY Bathroom Remodel
Even as a DIY project, you can still expect that a bathroom remodel will cost a few thousand dollars. The ideal way to pay for a bathroom makeover is to save up for that project and pay in cash, but that’s not always a feasible option for homeowners.
It’s important to weigh all of your payment options, calculating the additional costs involved with each choice. Here are a few of the top choices for financing your DIY bathroom remodel.
Home Improvement Personal Loan
Similar to mortgages or auto loans, you can take out a home improvement loan to cover the cost of your DIY project, and then repay the money over time. There are several different home improvement loan options, and, just like other kinds of loans, your rate will largely depend on your credit score and history.
Plus, most home improvement loans are considered a type of personal loan, which means that you’ll receive the money to pay for the project in a lump sum. That way, you can quickly fund your DIY bathroom project and then begin making monthly payments on the loan.
Cash-Out Refinance
With this payment method, you can refinance your existing mortgage, cash in on some of your home’s equity and put the money toward your bathroom makeover.
Cash-out refinances are a popular option for high-value home renovations because you can fund your project without taking out an additional loan. However, it’s important that you have enough equity built up on your property before using this option. You also want to ensure that your current interest rate is higher than the market’s to make this a viable payment option.
Credit Cards
Paying for your DIY bathroom remodel via credit card is recommended if you only need to borrow a small amount of money and need a flexible payment option. If that’s the case, you may want to consider using a credit card over a personal loan.
Keep in mind that credit cards can carry higher interest rates that can bog down your outstanding balance over time. Pro tip: Look for a 0% interest credit card offer and pay down the debt before the offer ends.
Final Thoughts
If your budget is set and your design plan is confirmed, now it’s time to determine how you’re going to pay for your DIY bathroom project. If a home improvement personal loan sounds like the best option, you can achieve more by applying with Rocket Loans®.
Once your DIY remodel is complete, smile and enjoy your new bathroom. You did it! Not only did you save money on the project and add to your home’s value, but you were able to create a beautiful space to relax and enjoy for years to come.
Apply For A Personal Loan.
Need Room To Relax?
Give yourself peace of mind - and your bathroom a fresh look - with a home improvement loan.
Apply NowRelated Resources
Viewing 1 - 3 of 3